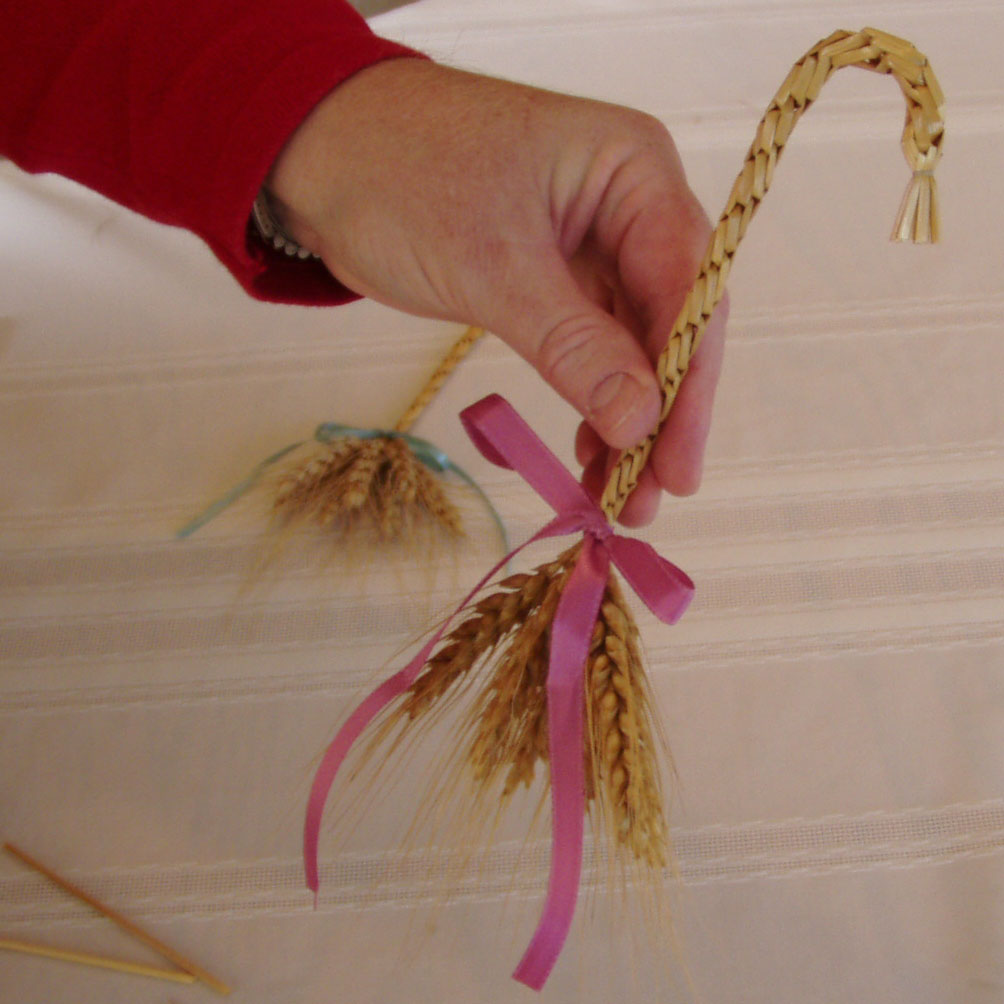
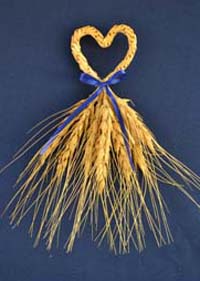
Tied Straw Work:
Another method of wheat work is called Tied Straw Work. This method is very simple as you are only tying straws together.
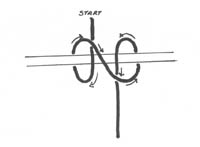
Review the directions for making a Clove Hitch Knot and Surgeons Knot listed in Important Knots to Know. For this project you are going to learn to make the clove hitch knot in hand.
Begin by learning how to make the knot by tying it around a pencil. Observe how the thread is arranged. To tie the knot in hand lay one end of thread over your finger. Bring the long end around your finger on the left side of the short end. Make another loop with the long end and twist it in your finger so that the end of the thread is to the inside of the loop. Place this loop to the right of your first loop. You should have two loops with the two ends of the thread in the middle facing in opposite directions. Compare your knot to the diagram in the original directions and to this photo. It is easy to slip this knot over the ends of the straws and pull snug to tie the star.
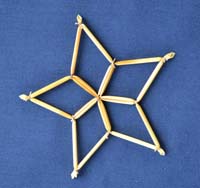
Eight Pointed Tied Star:
Materials Needed:
12 straws, matching thickness, no heads, about 6 inches long;
Scissors,
Wheat colored Carpet Thread,
Pins, Pinning Board, Soaking Tray and water,
Copy of Star Pattern.
Click on picture of pattern at right to link to full size pattern.
Check your printed version. Not all printers and browsers are accurate.
It should be one and five-eights inches center to outer point.
1. Soak 12 straws about 6 inches long of matching thickness, no heads.
2. Pin your Star Pattern to the pinning board.
3. Tie the 12 straws together on plane in the middle. Loosely tie a Clove Hitch Knot around the middle of 12 straws laying flat on the table. Have a friend hold their finger over the straws and thread to keep the straws flat on the table as you pull the knot snug.

3b. The straws will bend in the middle as the knot tightens and still be laying flat. They will form a radiating circle. This is called tying on the plane.
4. Pin the center of your straws to the center of the pattern on the pinning board.
5. Place a pin at each of the 8 inner points. Arrange yours straws with 1 straw on either side  of each pin and a straw in between along each of the long lines. There should be 3 straws between each pin.
Using the Clove Hitch Knot and Surgeon’s Knot tie the 2 straws
(1 on either side of the pin) together at the pin.

6. Place a pin at each of the 8 outer points. Take 1 straw from each of the inner points on either side of the outer point and bring them together and cross them at the outer pin.
7. Tie them to gether along with the single straw along the long line at the outer point. Be consistent in how you cross the 3 straws when you tie them.
8. Trim the ends of the straws in a pleasing manner. Tie a loop of thread to one point to hang your star.
 Clove Hitch Knot:
 Surgeon’s Friction Knot: